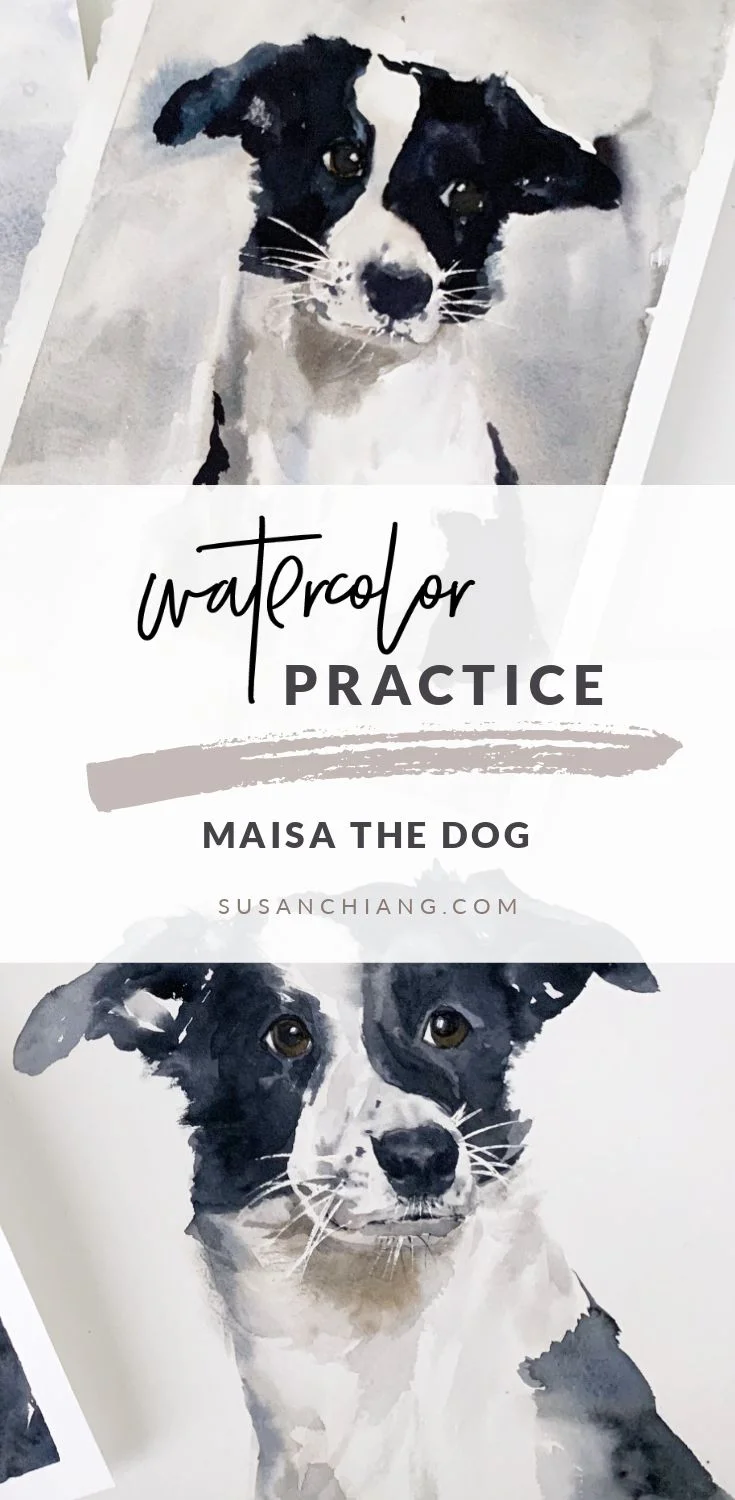
Watercolor Practice: Learning to Paint Maisa the Dog
After sharing my mistakes practice in this post, I received a number of thoughtful responses on the blog, through email, and on instagram. It seems that sharing my practice was inspiring and reassuring to quite a few people! It makes me happy and humbled to know that just by sharing the process of painting I encouraged even just one person.
Getting this feedback has inspired me to keep sharing my practice (however imperfect it looks) as I continue challenging myself with watercolors.
Today, I’m sharing my attempts at painting a dog from a course I purchased on Enterclass, a Russian website with a collection of great art courses.
And just in case you’re wondering...yes, the class is entirely spoken in Russian. I don’t understand a word the instructor Denis Petrulenkov is saying. But since watercolors is a visual medium, I figured I could get by with just watching the videos.
Well...after going through the first lesson I realized that is only partially true. While I could definitely pick up on what he was doing in the video, I am 100% sure that Denis is dropping nuggets of wisdom in the lessons that I just can’t understand.
Aside from the fact that I had no idea what he was saying, I attempted to try painting in this VERY wet style.
I’ve always admired watercolors painted in this style. And while the results may appear soft and effortless, it is definitely not easy.
As you’ll see below, I wasn’t able to achieve the same style in any of my attempts even though I felt like I really tried!
So you can see what I was trying to mimic, here is a photo of the instructor’s piece:
Image Credit: Enterclass.com
I tried in earnest four times. Ok maybe three. But it doesn’t mean I didn’t learn a lot in those attempts about how I paint and what I might want to do differently.
Below is breakdown of my attempts (in the order they were painted) and my thoughts on each attempt.
I should also mention that I painted these over the course of a week, rather than all in one sitting. I also didn’t plan to make four attempts at the same painting. But when I finished the first and didn’t succeed, I felt the need to try it again…and again another 3 times. The good thing is that the break in between gave me some time to reflect and think about what I would do differently the next time.
Alright, so let me walk you through my four attempts to paint Maisa the dog!
Attempt #1: The Complete Failure
Dog Attempt #1: The Complete Failure
I feel like I could leave you with this photo along with the title “The Complete Failure” and it would be very self-explanatory.
But here’s what happened, if you want know.
We were given a reference photo, which I sketched from but when I began painting, I basically followed the instructor’s live painting and didn’t reference back to the photo at all.
The instructor wets both sides of his paper. Both sides! So you can imagine how wet we’re working.
He also has a very intuitive way of painting. It’s both beautiful to watch and very confusing to me. He would randomly brush on colors in random places on the paper. But you could tell it was intentional…it only appeared random.
Looking at the reference photo didn’t help so I attempted to make marks stroke for stroke with him. Soon I lost track of my sketch lines. I wasn’t pacing myself with the wetness of the paper so the watercolors were bleeding everywhere. Instead of being patient, I was just trying to keep up with the video.
Before I knew it, I looked down and the dog looked more like a giant fluffy panda or something. So I actually gave up. It was also late and time for bed, so I just put down my brush and declared it a lost cause. I told myself I’d try again tomorrow.
Attempt #2: Back to My Comfort Zone
Dog Attempt #2: Back to My Comfort Zone
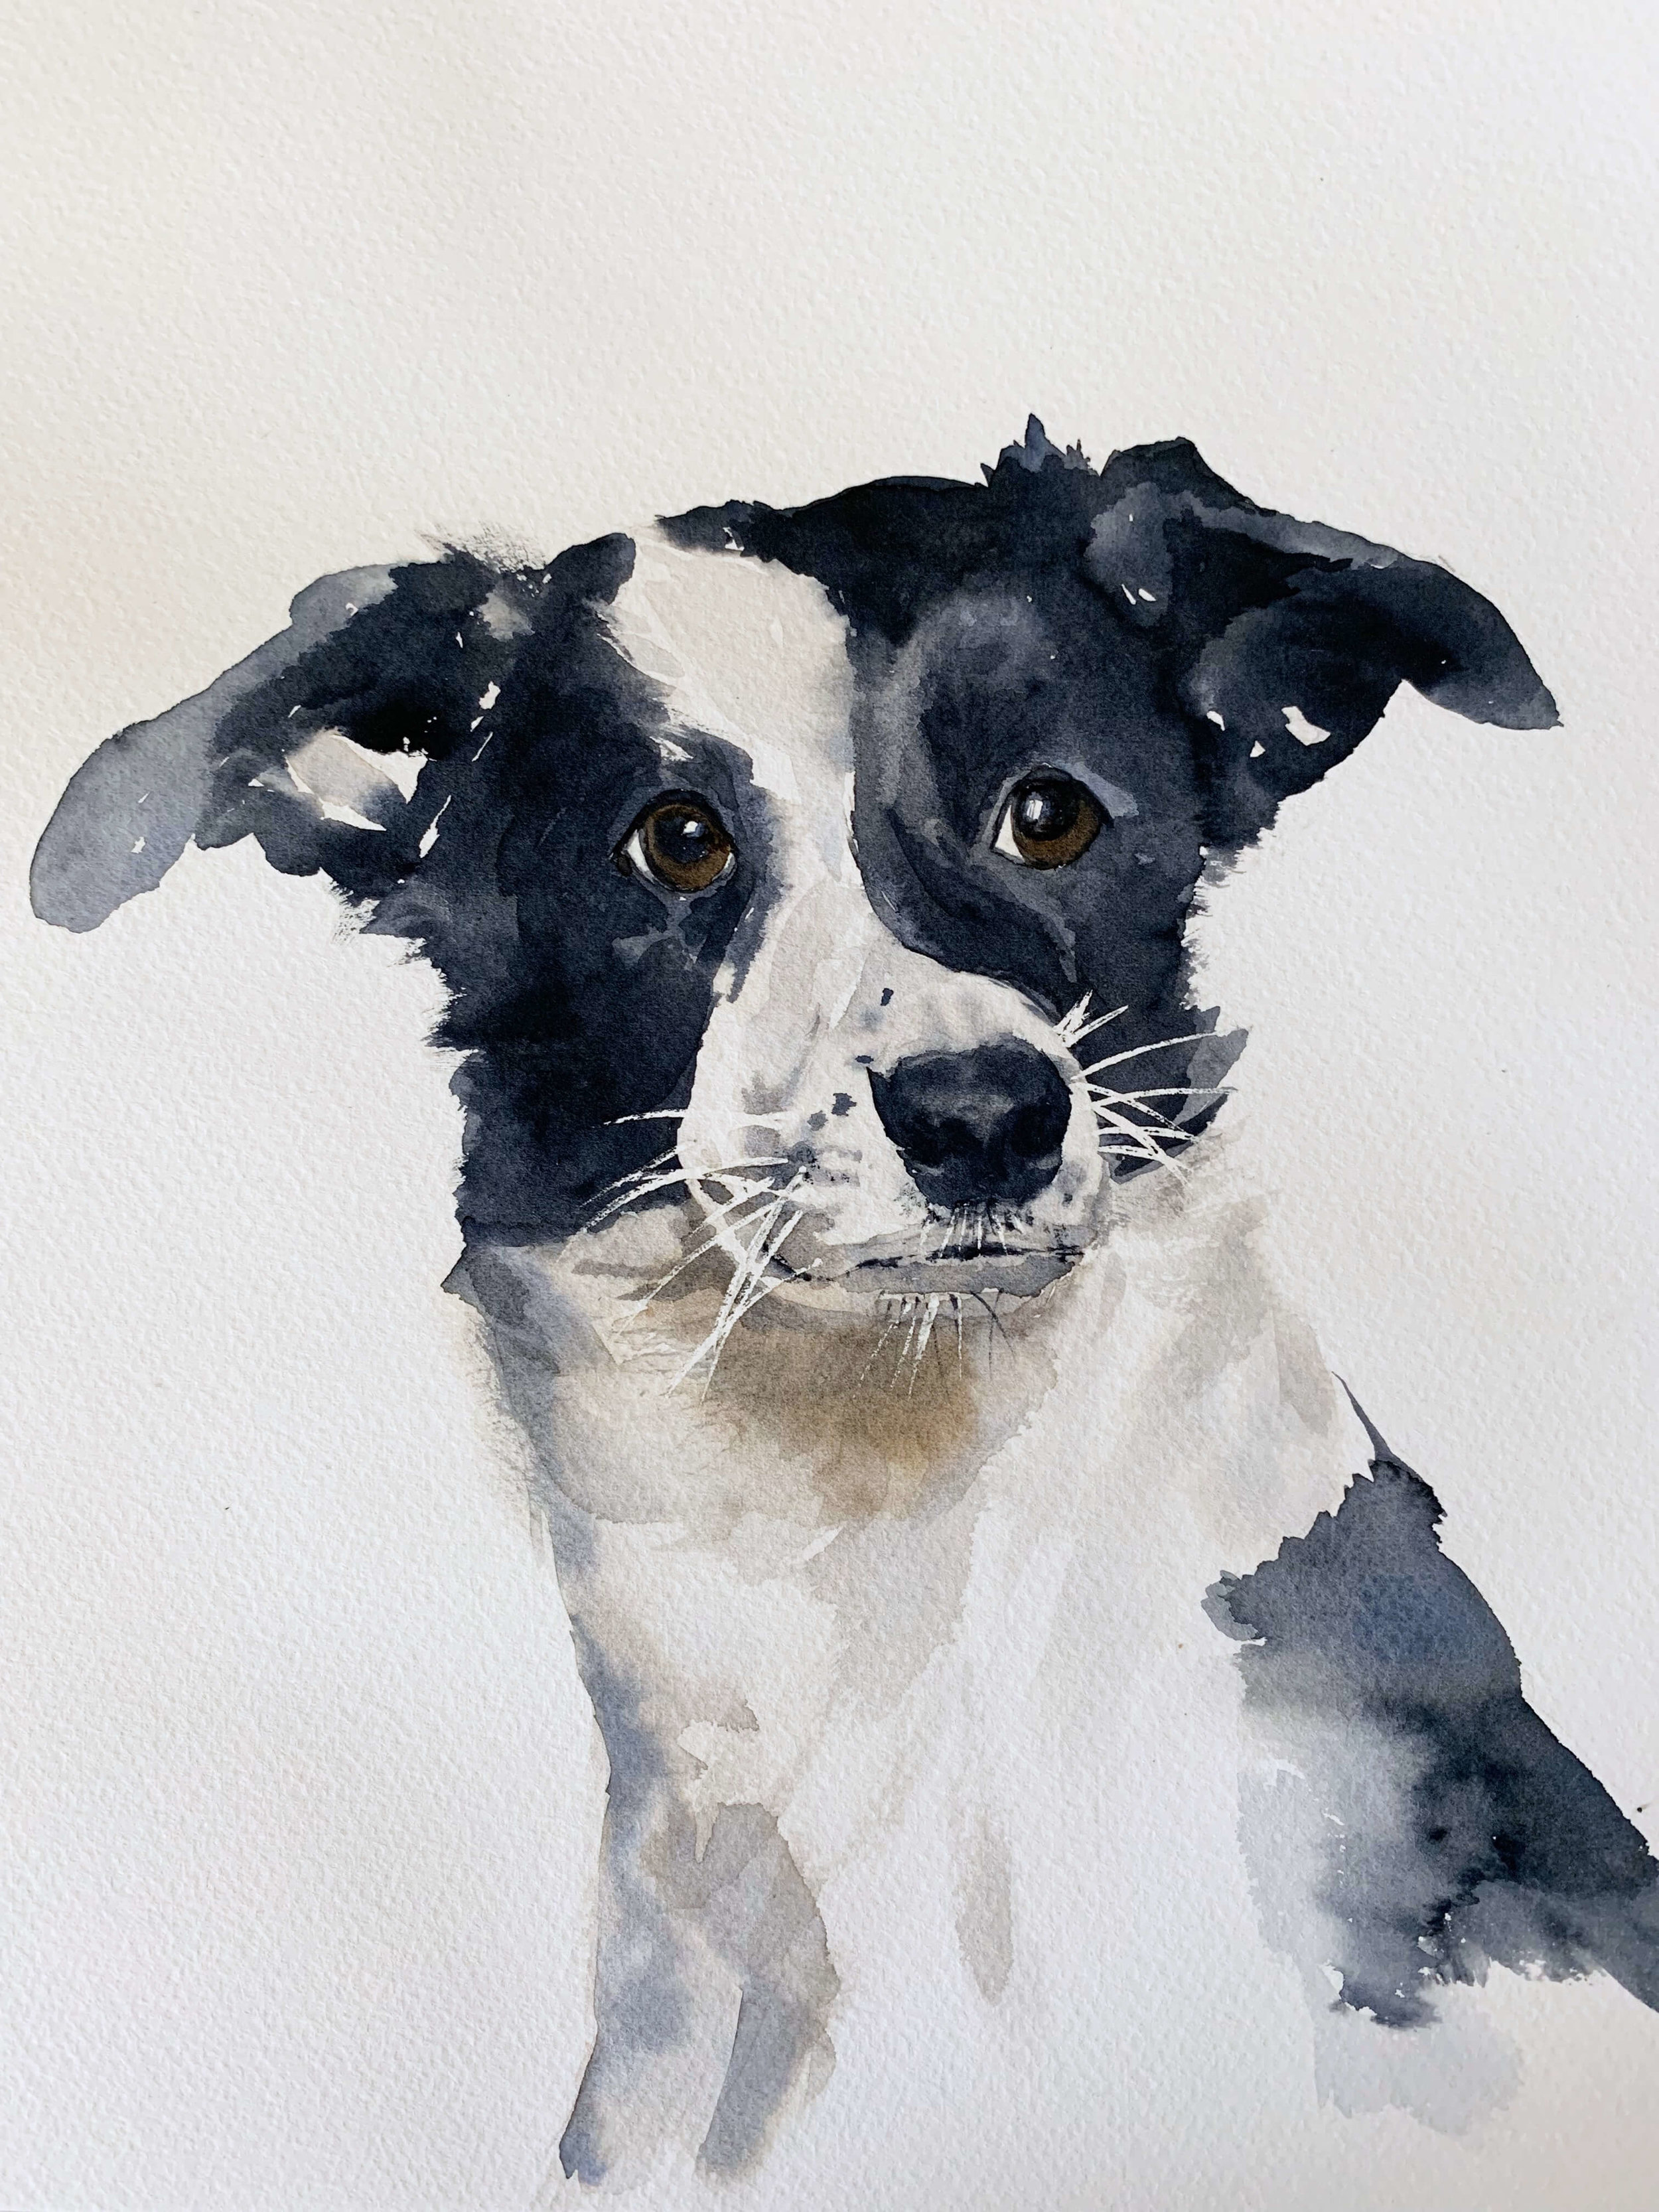
I’m not going to lie, I felt a bit appalled at the previous disaster so I thought, why don’t I try this in my own natural style? (And not try to copy the instructor’s painting style).
I decided to try painting it in a way that felt natural to me. I didn’t wet my whole paper, I didn’t try to paint a background color. I just painted whatever came naturally to me in my own version of “loose” and to be honest, I was surprised at how it turned out. I was pleasantly surprised it didn’t look too terrible.
When I was painting this I realized that I definitely have an approach and way of painting that I feel more comfortable with - my comfort zone. And when I paint this way, the painting has a certain aesthetic to it. I believe this is where our individual art all has a unique quality. It’s the way we paint and how we make marks on the paper that makes it unique to each one of us.
When I finished, I still felt like challenging myself to paint like the instructor. I enjoy a challenge, but I also know that by pushing my limits I’ll learn more and maybe even discover new techniques that I love and can incorporate into my paintings.
Attempt #3: Really Going For It (or so I thought)
Dog Attempt #3: Really Going For It (or so I thought)
Alright, so I prepped myself mentally. I processed what happened in the first attempt and thought to myself: I just need to combine my second attempt with the first attempt and maybe I’ll end up with something closer to the example painting.
I wet my whole paper (just one side though) and I really let loose with the paint. Trying to place strokes the same way the instructor did but this time I paused the video and exercised more patience.
But the paper started drying in some spots too soon while I was overworking other areas of the painting. I even tried using black ink instead of watercolor (because I thought that’s what I saw the instructor doing).
I wanted to give up but pushed myself to finish it. And it still didn’t look like what I was aiming for. But I think it was closer.
I’m realizing at this point that I need to find a way to ‘let go’ even more and not keep poking and prodding at the painting. Clearly very difficult for me to do.
So I told myself I’d make one more attempt. I even sketched it out that night so it would be ready to paint the next day.
Attempt 4: Thought I Nailed it…Not
Dog Attempt #4: Applying Lessons-Learned
I seriously thought I had it this time and I could produce something closer to what I was striving for. I painted this time without looking at the video.
While painting, I really felt like I was getting it. That I MUST be painting wet enough to get the same effect as the instructor. In my head I was thinking: “Oh yeah, I got this - this definitely feels more loose”.
But when I was done I realized it STILL didn’t look like the example. In fact, it was LESS loose than the last one!
I was trying so hard to paint loose, I thought I was practically throwing paint on the paper…but nope! It is so interesting to me that I naturally paint with a lot more detail and structure than I thought.
I had some enlightening realizations about my own painting style through this process!
I decided not to make another attempt on the same subject and move onto the other lessons. I’m still going to try and work on getting looser through painting the other dogs and cats in the remaining lessons (there are 4 lessons total).
All in all, this was challenging in a very good way.
Ultimately here are the takeaways I am bringing with me as I move forward to the next lessons:
Make sure the paper is wet enough before I start
Check that the paper is not too wet when applying the colors - be patient!
Don’t be afraid of concentrated color on the brush (you need more than you think)
Stop touching it! Err on the side of leaving it alone.
Less is more. Less stokes, less detail, less overworking.
Supplies Used
Please note: Some of the links below are affiliate links, which means that if you choose to make a purchase, I will earn a commission at no additional cost to you.
Brushes:
Grumbacher ¾” Flat Brush (to wet the paper)
Da Vinci Russian Blue Squirrel Quill Size 2 (main brush)
Princeton Heritage Liner Size 4 (eyes, whiskers)
Princeton Heritage Round Size 6 (miscellaneous)
Watercolor Tube Paints (all Winsor & Newton Cotman)
Payne’s Grey
Ultramarine
Burnt Sienna
Indigo
Yellow Ochre
Burnt Umber
Fineline Masking Fluid (to mask eyes and whiskers)
Note: I coat my liner brush with this first before dipping it in the masking fluid to protect the bristles and make sure to wash the brush with more soap immediately after using the masking fluid
Hardboard Panel (I tape my paper down to this board)
Blue Masking Tape (although I think I’ll try this one when I run out)
TIME-LAPSE VIDEO
That’s right…I had the bright idea to film myself painting just in case I wanted to share it! I filmed all the attempts except #2. Unfortunately, I totally forgot to set up and turn on my camera.
I put together a quick time-lapse video of attempt #1, #3, and #4 for you to see. I love watching people paint so I thought this might be fun to share. Click below to watch!
I hope you enjoyed this post in the Practice Makes Progress series! I’d love to know what you’ve been practicing lately. Comment below and let me know what it is you’ve been painting and making progress on!


