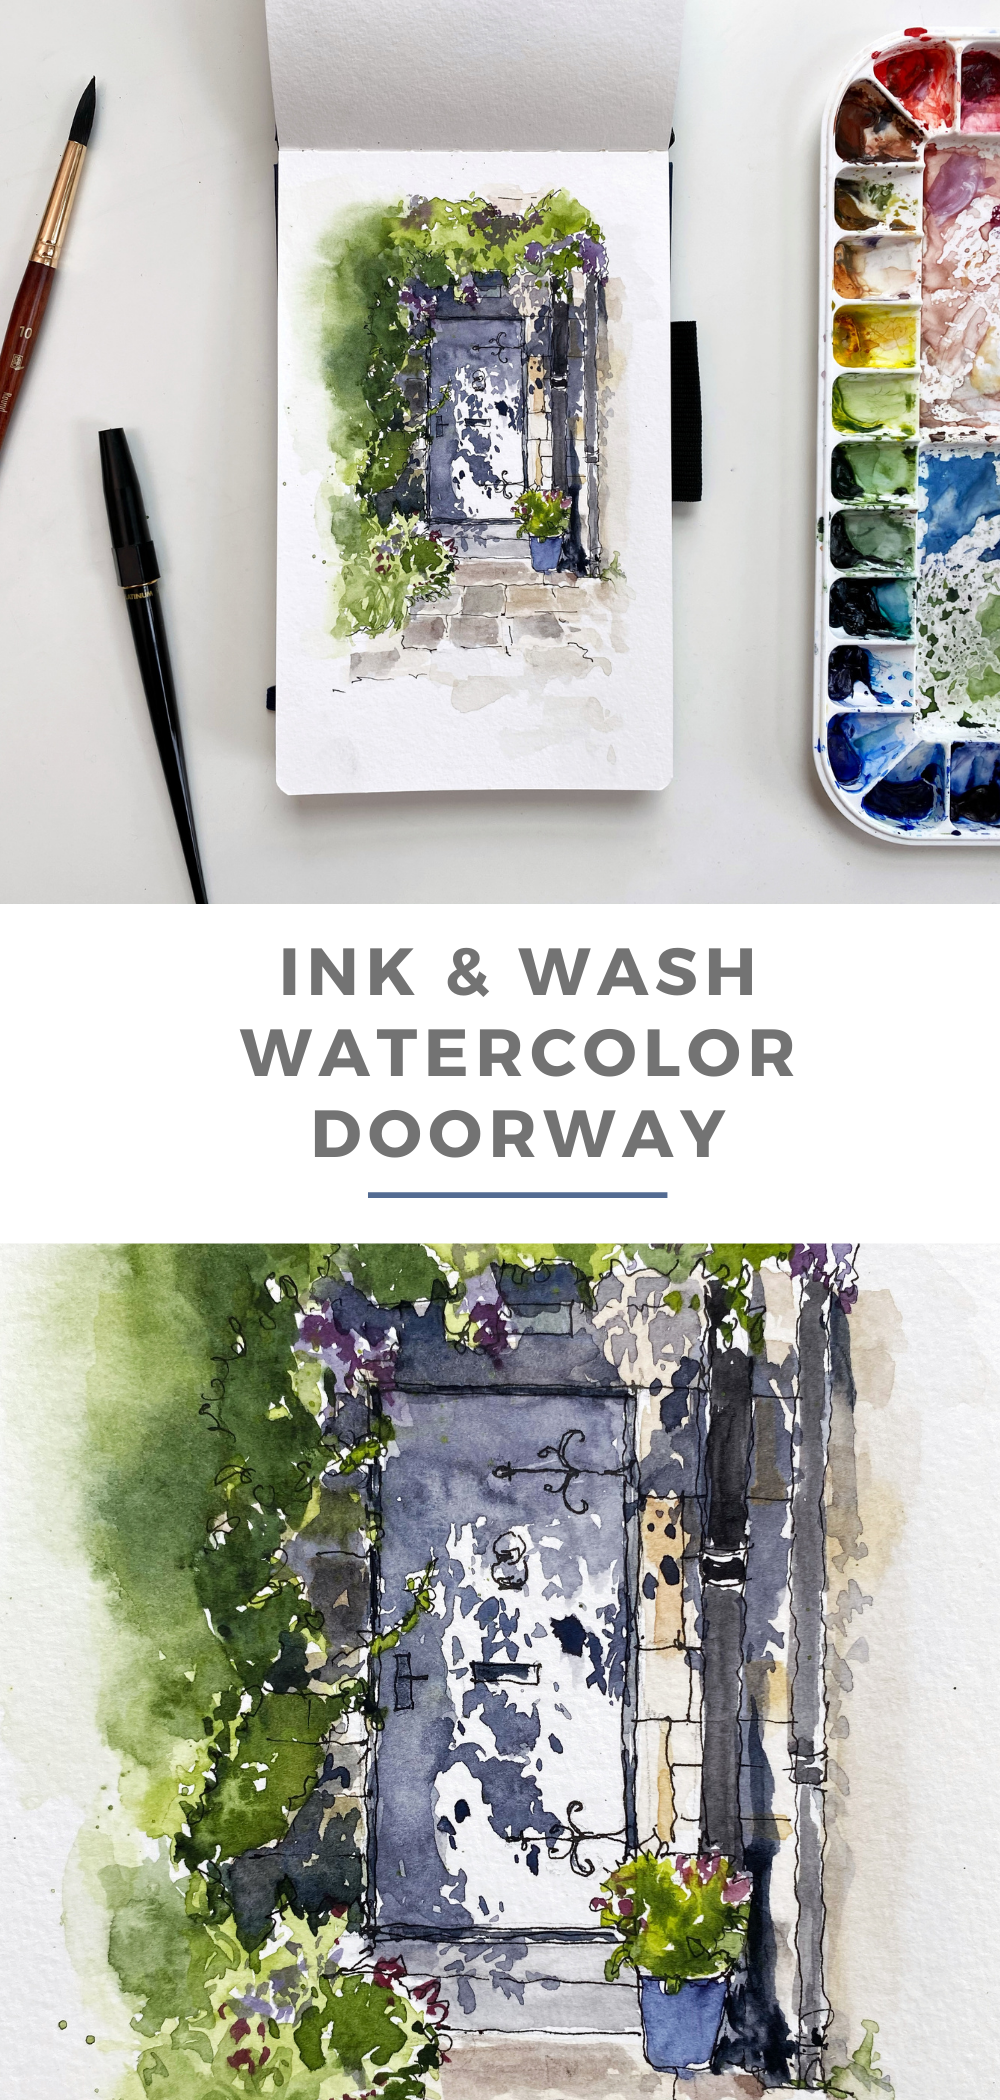
Ink & Wash Watercolor Doorway
In this post, I'm taking you through the process behind the ink and wash doorway that I painted for the May’s Paint With Me Challenge. (If you're curious about what the Paint With Me Challenge is, click here to read more and join in!) Alright, so let’s dive right in…
Step 1: Pencil Sketch
First, I lay down a light pencil sketch before I do any inking. I typically will do a quick pencil sketch even if it's just an outline to get the composition right on the page because I just like knowing that things are placed somewhat correctly before I get started with the ink lines.
The pencil sketch helps me to work through decisions prior to inking and gives me confidence because I’ve had a chance to ‘think through things’. In a way, it also gives me two chances to decide on details because when I do start inking, then I have the chance to think through things again. I can make better informed decisions about the details I want to include or maybe even leave out. I also can think about how I’ll be approaching the watercolor wash as I’m drawing.
Step 2: Ink Lines
Next, I go over my pencil lines using a loose linework style, allowing the line to be ‘wiggly’ and intentionally leaving gaps in my lines. It’s just a preference for the way I like to draw - I’m sure that you have your own style as well!
Step 3: Watercolor Wash
After I do the ink lines, I'll go in and do a loose watercolor wash. The reason why I love these ink and wash paintings so much is because I feel like the ink lines provide an outline for me to come back and “color in” with my watercolors. In a very simplistic way, I think about it like a coloring book.
With the ink lines asking as guidelines or outlines, the full picture is pretty much already there - you know what the illustration is ‘supposed to be’. And because of that, it gives me freedom to play and have fun with my watercolors. The linework foundation is there so it's harder to ‘mess up’ the watercolor wash. Whatever happens, it should still ‘look like something’ - if that makes sense!
When I do watercolor washes over my ink lines, I prefer to focus on allowing my watercolor to support the drawing by:
Adding color (areas of wash)
Adding texture (brush strokes and layered color)
Adding important details that were not inked (like the shadow in this case)
If you’d like to watch a timelapse of this painting, click on the video below:

Supplies List:
Colors Used (Daniel Smith Watercolors) :
Buff Titanium
Monte Amiata Natural Sienna
Payne's Grey
Indanthrone Blue
Quin Rose + Indanthrone Blue (for purple)
Sap Green
Perylene Green
Thank you so much for reading and watching!
Susan